How to Install Face API SDK on Windows
On this page, find detailed information on how to install the Face SDK Web API, get and set up the license file.
To obtain the production license or any purchasing information, submit an inquiry, and our sales team will contact you shortly.
Before You Start
Here are some important notes:
-
The Face SDK Web API is supported on the
(x86)and(x64)architectures. -
By default, the Face Processing Service is available at
localhost:41101. -
You can install the Face SDK Web API package for CPU or GPU. Find more info below.
Face SDK vs Windows Support
| Version | 5.X | 6.X | 7.X | 8.X |
|---|---|---|---|---|
| 11 |  |
|
|
|
| 10 | |
|
|
 |
| 7 | |
|
|
|
Note that Windows supports only Basic and Advanced Liveness installation.
Basic Installation
CPU and GPU configurations
The Face SDK Web API package is available in two configurations: CPU and GPU.
You can use the CPU option to set up the Web API on a central processing unit. If you've got a graphics processing unit (NVIDIA graphic card), you can choose Face Processing Service (GPU). You can't use the GPU package on a central processing unit.
Both configurations work the same way, the difference is that the GPU version provides much faster performance than the CPU one.
Warning
Do not download and install both the CPU and GPU packages at the same time, this may lead to errors. Make sure to use only one of the options.
If you plan to use the GPU processing version, check GPU Prerequisites.
Install Face SDK Web API
The easiest way to get the Web API is to download it via the Regula Downloads Manager. The Manager is required only for the download of the package and has no further impact on the Face SDK Web API operation.
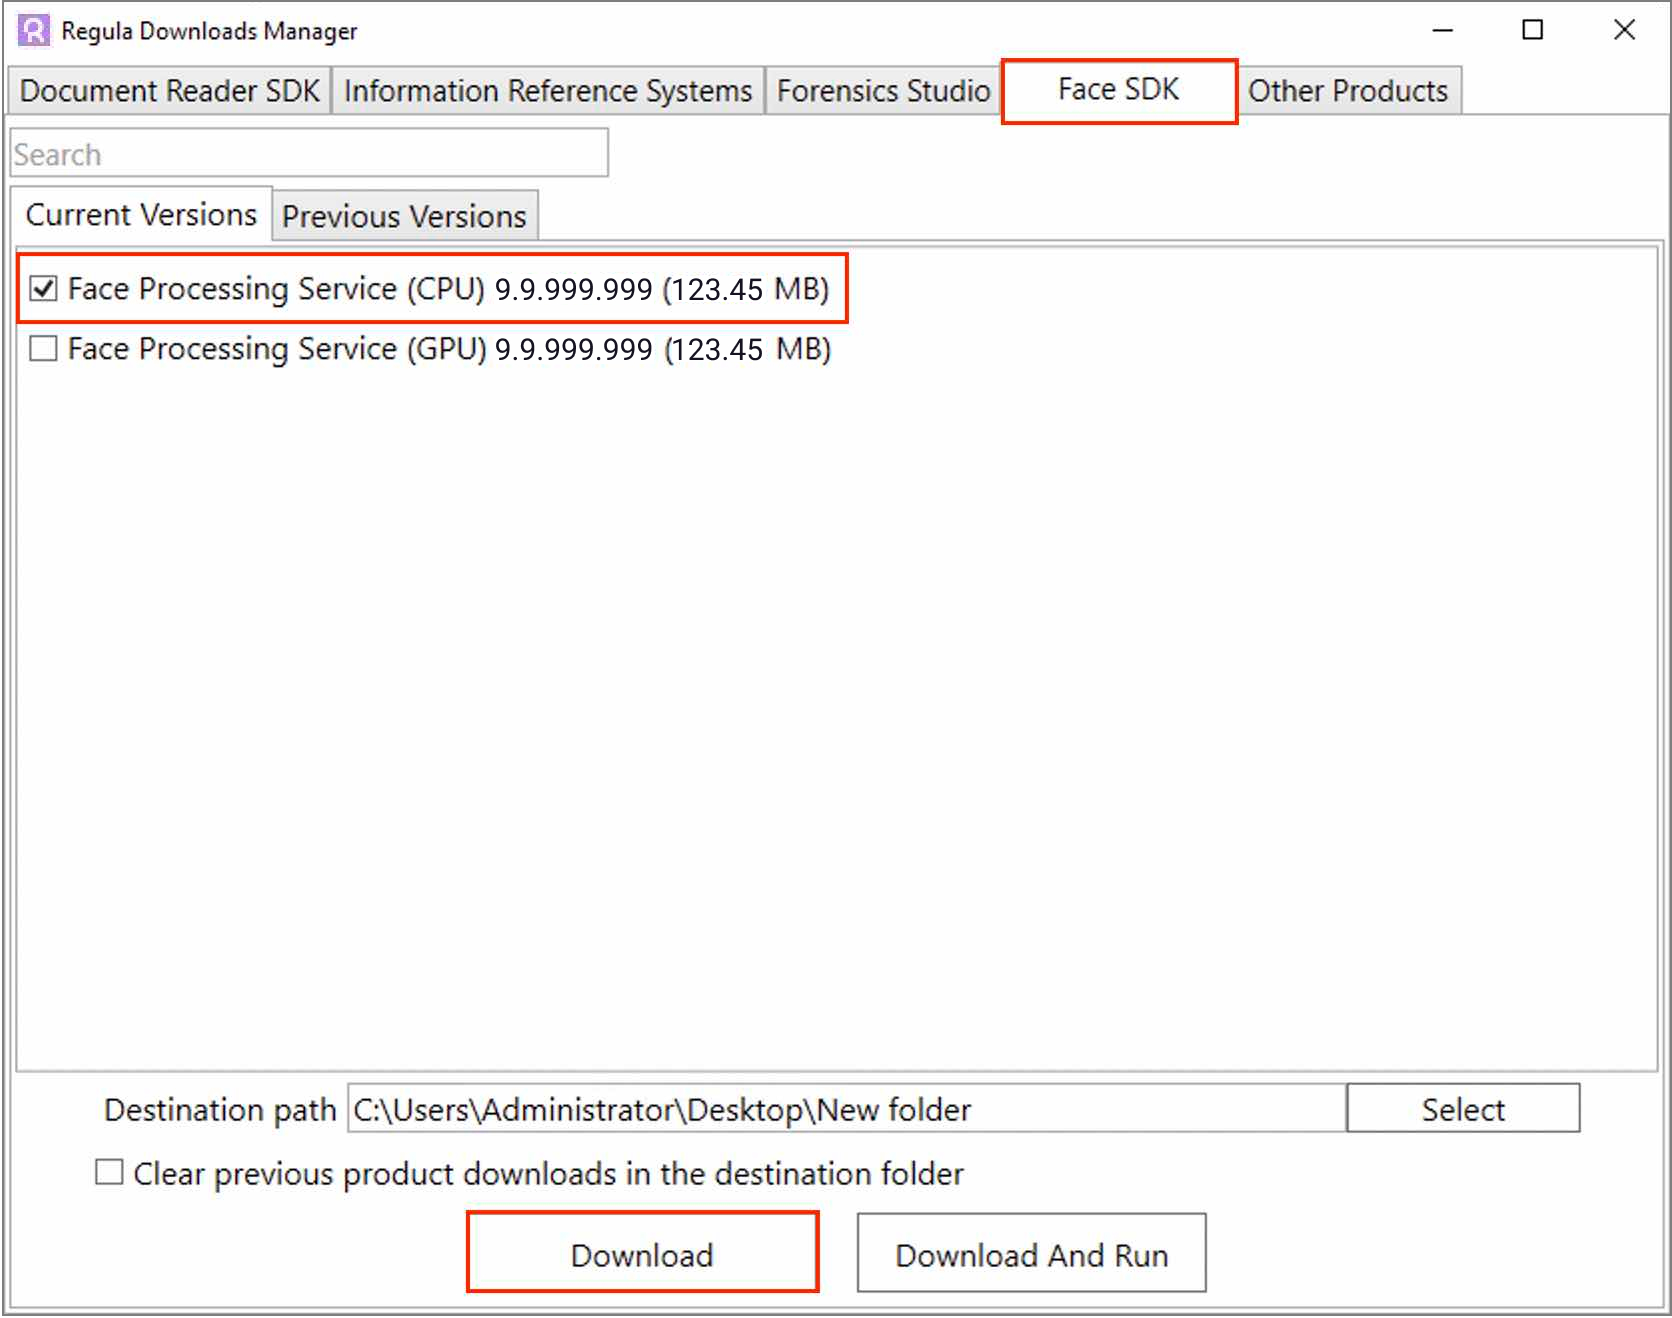
1. In Regula Downloads Manager, select the Face SDK tab, check the Face Processing Service (CPU) or Face Processing Service (GPU) box, and click Download:
2. Go to the destination folder, open Regula Face Processing and run the .exe file.
3. Follow the Installation Wizard instructions.
Licensing
To use all the capabilities of the Face Web API, you need to add a license file. The first step is to set up the Regula Licensing app that will let you manage and monitor your license keys. Regula Licensing is installed via the Regula Downloads Manager.
Install Regula Licensing Application
1. In the Regula Downloads Manager, go to the Other Products tab, check the Regula Licensing box and click Download:
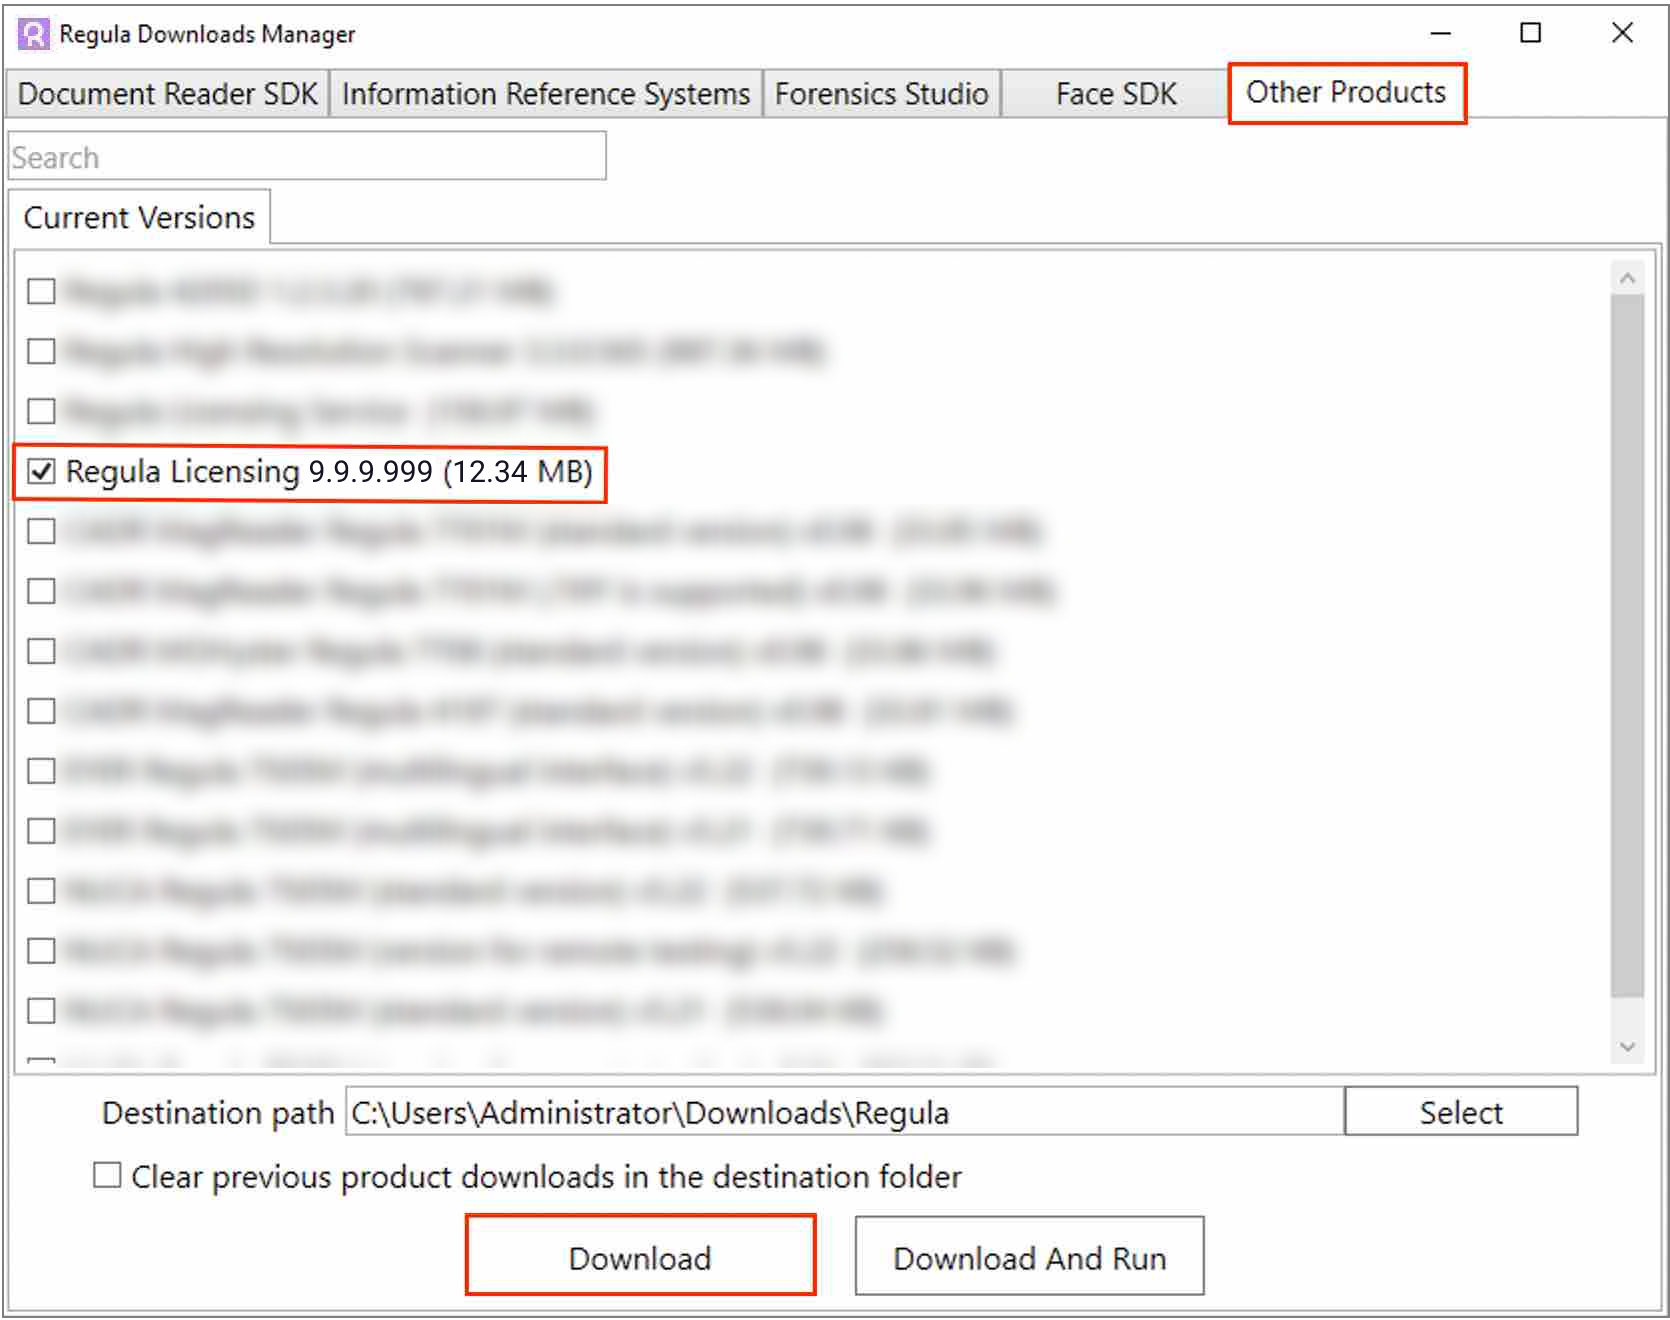
Warning
Do not confuse the Regula Licensing box with Regula Licensing Service!
2. Go to the destination folder, open Regula Licensing and run the .exe file.
3. Follow the Wizard instructions.
License Key for On-Prem Operation
For on-prem operation of the Face SDK Web API, you need to use a license key generated especially for your system information.
To obtain the license key, first of all, launch the Regula Licensing application.
- If you are already in contact with a sales manager, you can send the system info to them. For this, click Save System Info:
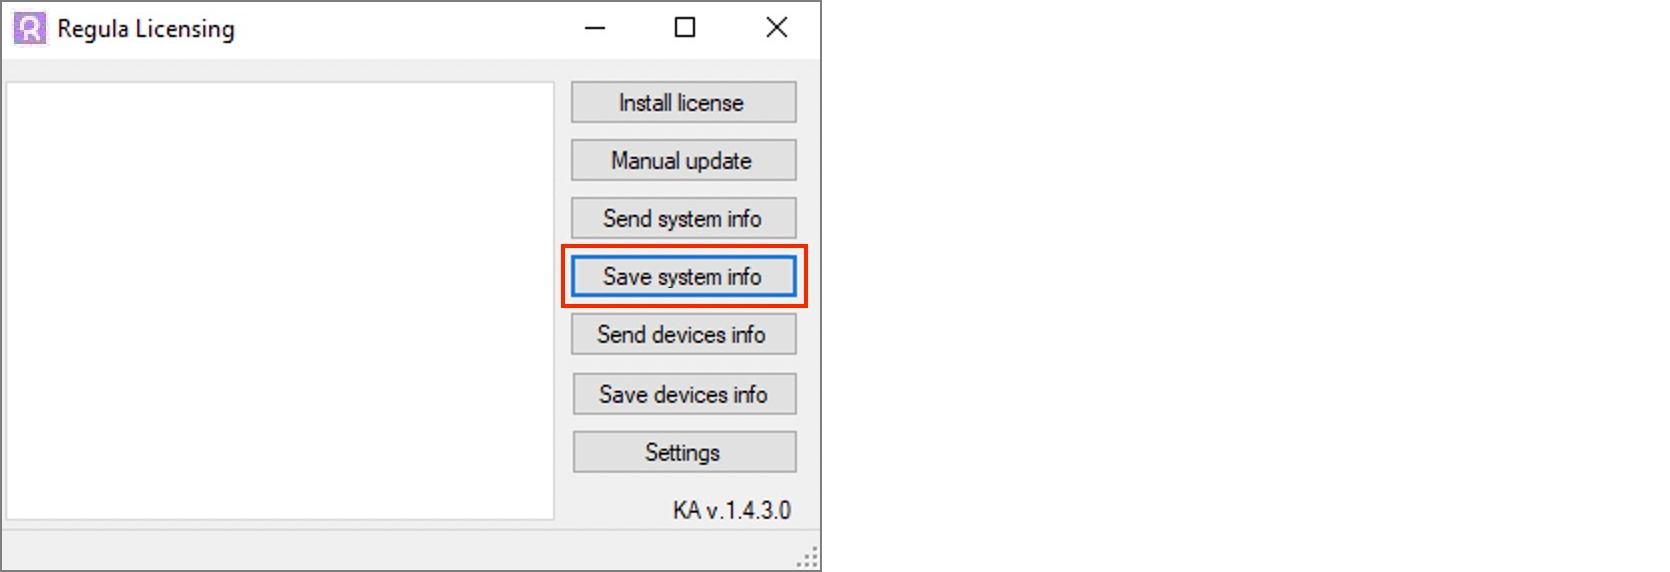
A .sysinfo file will be generated and saved on your machine. Send the file to your sales manager to get the license key created for you.
- Also, you can pass the request to the support team. Click the Send System Info button:
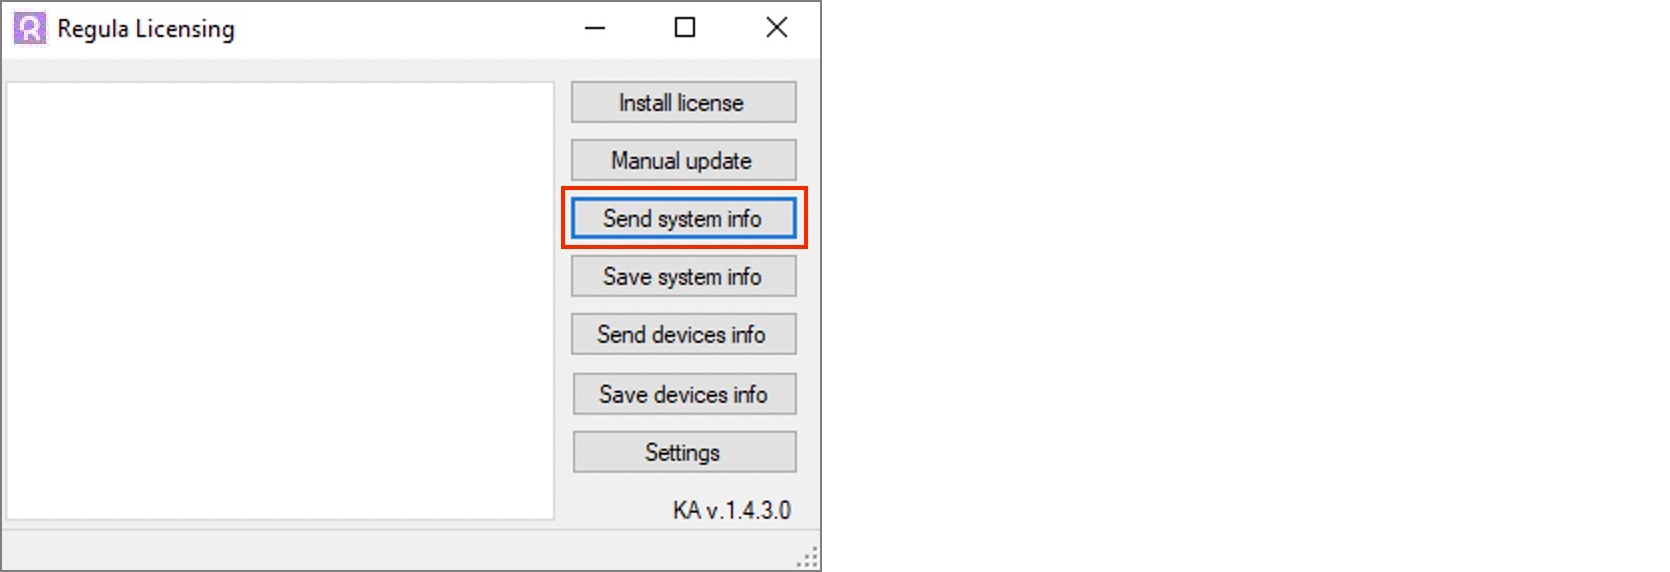
In the opened dialog window, enter your name, email, any info related to your use case or project (always much appreciated!), and click Send. Our manager will contact you as soon as possible.
Set Up License
Once you receive the license file, you can implement it manually or with the help of the Regula Licensing application.
Warning
Before taking any action, check if the license file is named regula.license, this is crucial for the setup. If its name is different (for example, SL12345.license), rename the file.
Manually
1. Copy the obtained regula.license file to the following directory depending on the configuration—CPU or GPU:
CPU
%PROGRAMFILES%\Regula\Face Processing Service\extBin\win_x64\cpu
%PROGRAMFILES%\Regula\Face Processing Service\extBin\win_x86\cpu
GPU
%PROGRAMFILES%\Regula\Face Processing Service\extBin\win_x64\gpu
%PROGRAMFILES%\Regula\Face Processing Service\extBin\win_x86\gpu
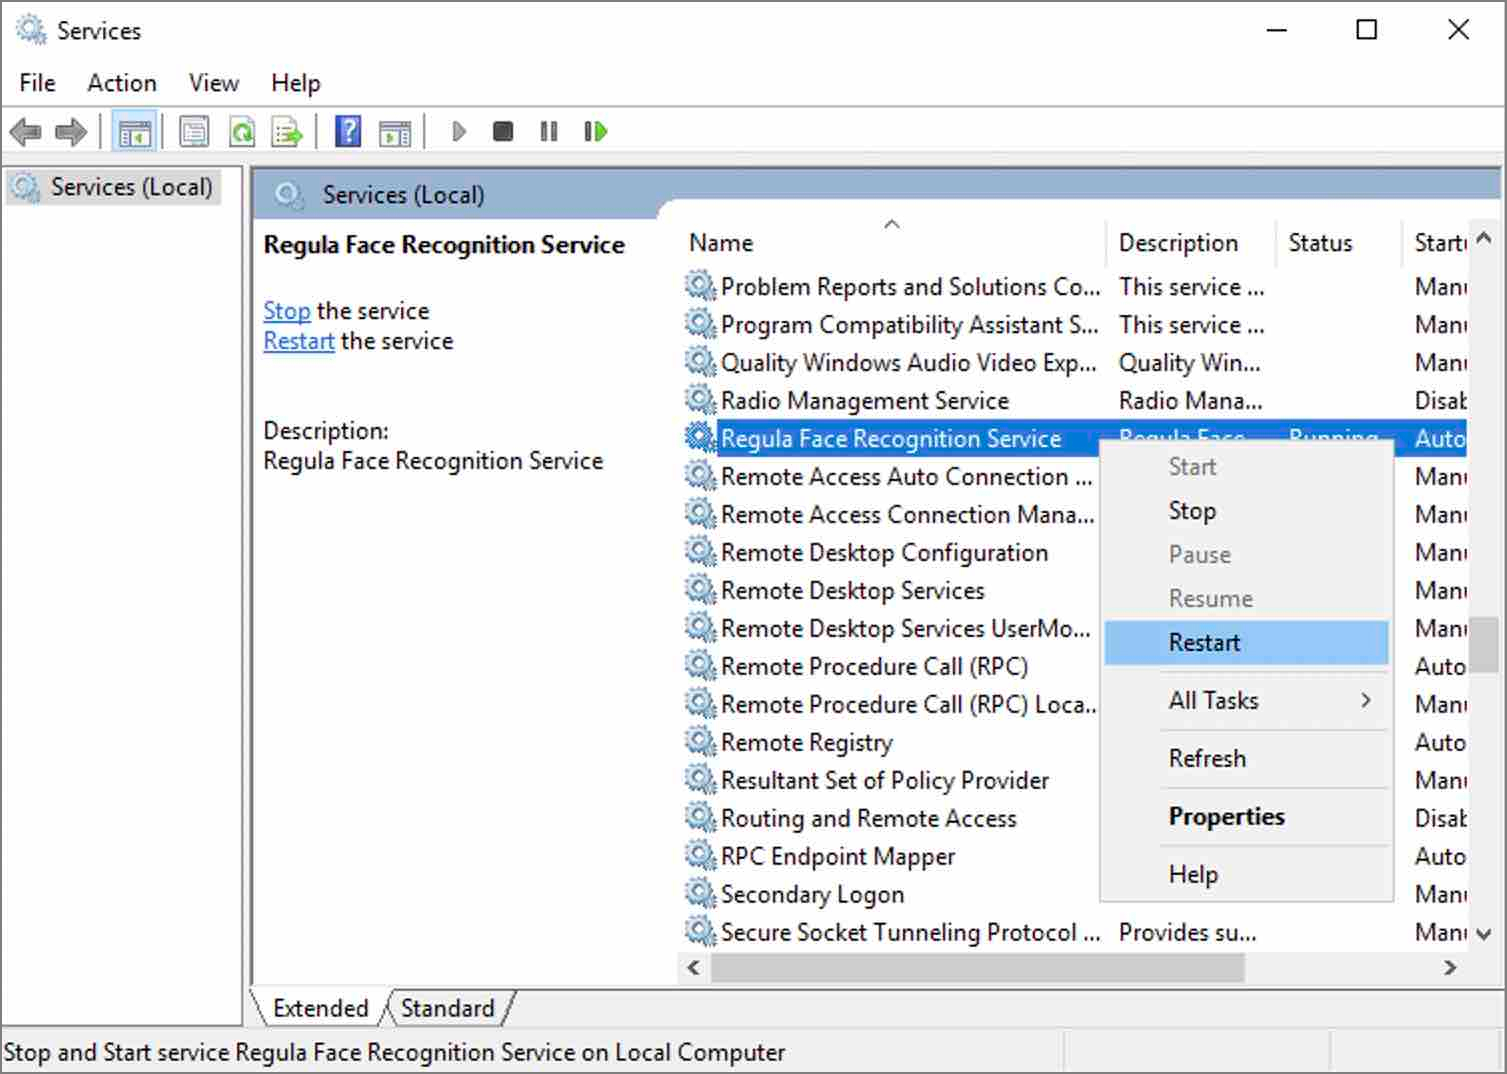
2. Open the Services app (click Start -> type "services"), right-click Regula Face Recognition Service, and select Restart:
Using Regula Licensing Application
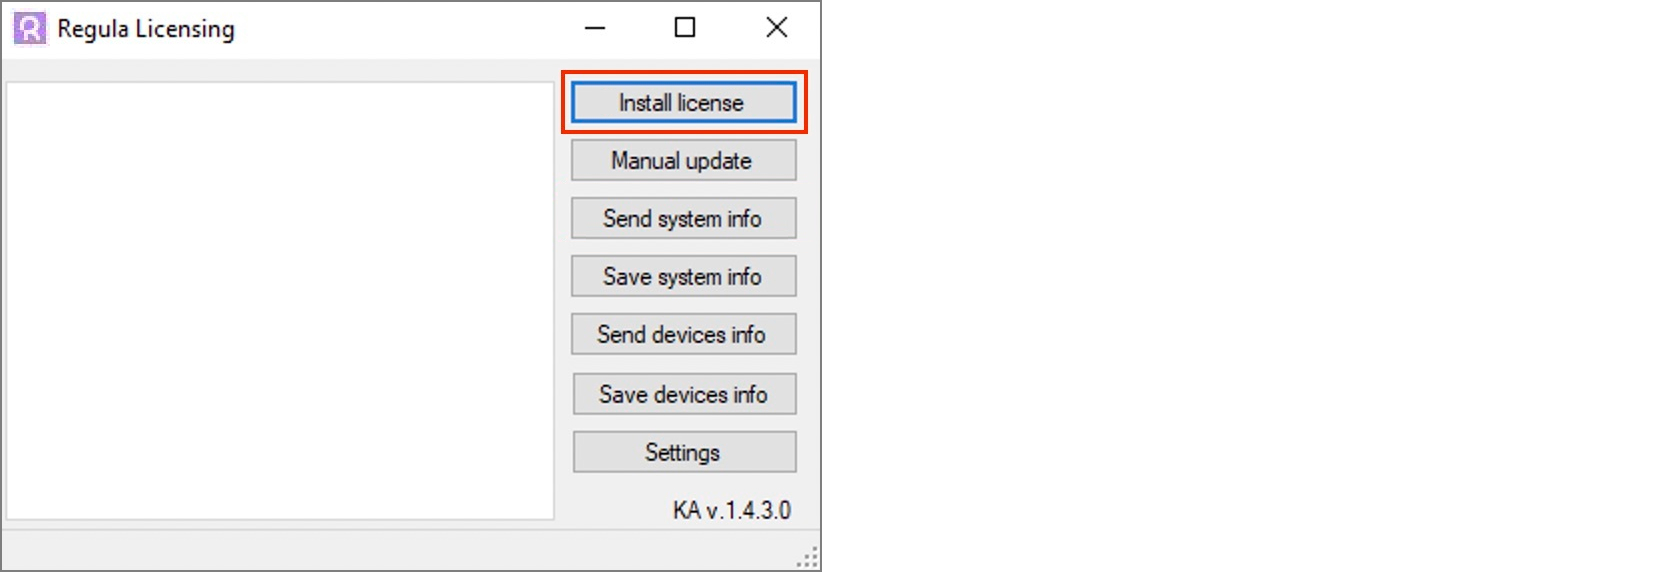
1. Launch the Regula Licensing application.
2. There are two ways to install the license key:
- Click Install License and select the
regula.licensefile:
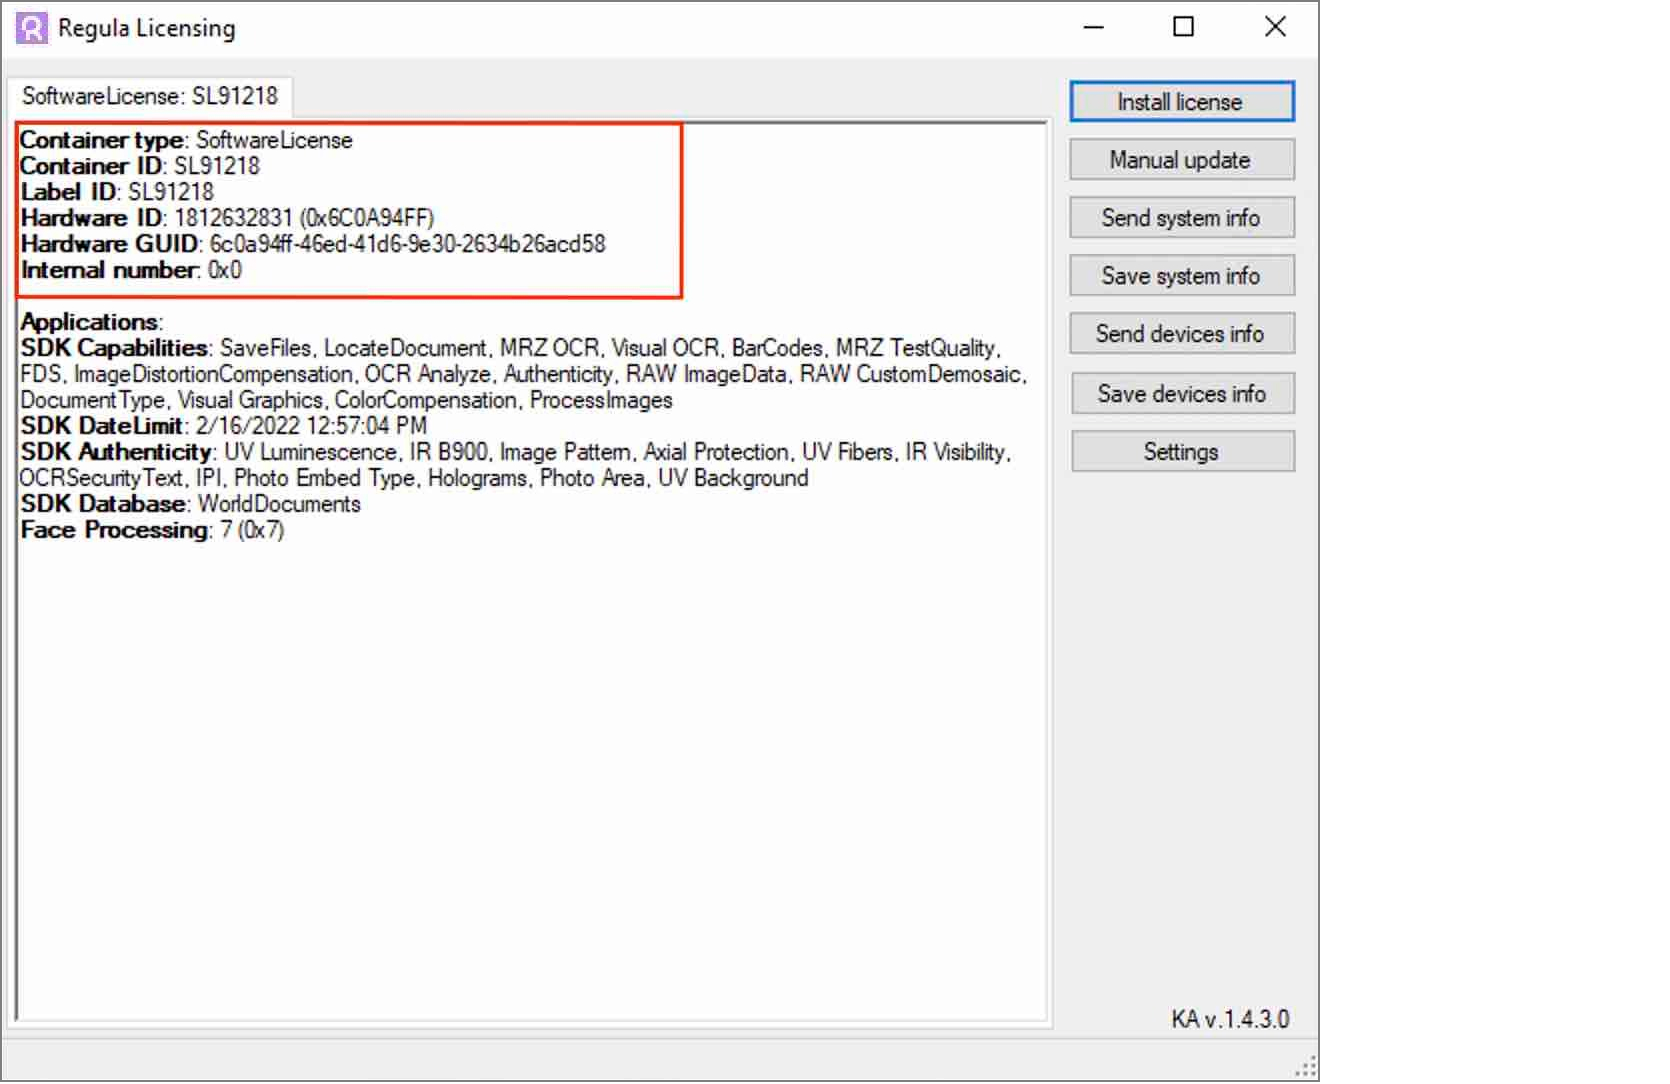
- Or drag and drop the
regula.licensefile into the Regula Licensing window. As soon as you do this, you'll see the license information in the window.
3. Make sure the license key is installed correctly and the license key information is displayed as follows:
4. Open the Services app (click Start -> type "services"), right-click Regula Face Recognition Service, and select Restart:
Advanced Installation
Face Liveness
Database
If you're going to use the Face SDK Liveness module, you'll need to create a database. The database will store the metadata of the liveness check, such as transaction ID, timestamp, result, etc. You can find more information in the Liveness Architecture section.
The supported database types and configuration details are described in the Configuration section.
Storage
The supported storage types are File System (FS), Azure Blob, Google Cloud, AWS S3. Please find the detailed information on the Storage page.
FaceApi
In the config.yaml file located at C:\Program Files\Regula\Face Processing Service\, set the service.liveness.enabled parameter, see details in the Configuration section.
Then set the connection string to the SQL database in the SQL_CONNECTION_STRING variable:
SQL_CONNECTION_STRING='dialect://user:password@host/dbname[?key=value..]'
Restart the Face Web API service.